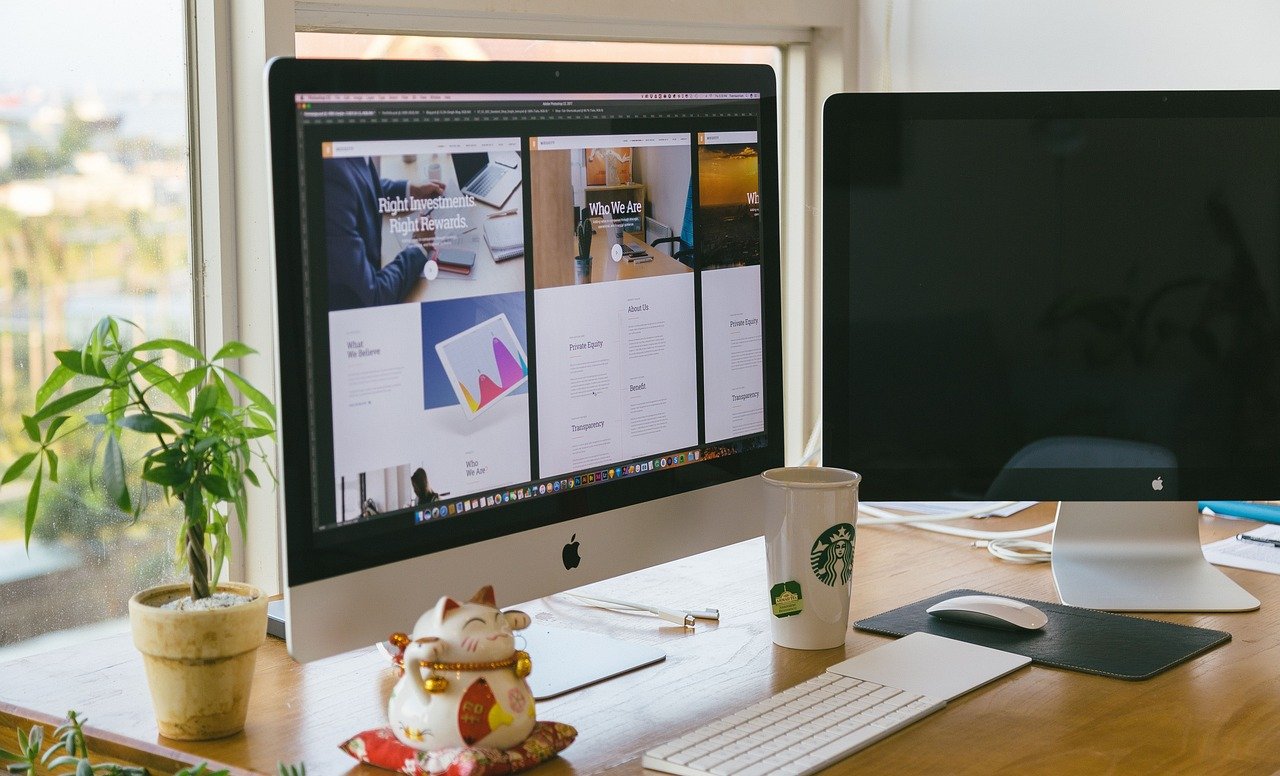
In today’s fast-paced digital world, having multiple monitors can significantly enhance productivity and create a more immersive experience, whether you’re working from home, gaming, or managing complex projects. Connecting multiple monitors to your computer can seem daunting, but with the right steps and a bit of preparation, it’s quite manageable. This guide will walk you through everything you need to know about connecting multiple monitors, from understanding your hardware to configuring your setup.
1. Understand Your Hardware
Before diving into the process, it’s crucial to understand the hardware you’ll be working with. Here’s what you need to consider:
A. Monitor Types and Connections
- HDMI (High-Definition Multimedia Interface): Most modern monitors and graphics cards use HDMI, which supports both high-definition video and audio.
- DisplayPort: Commonly used in high-performance monitors and often found in gaming setups. DisplayPort can handle higher resolutions and refresh rates compared to HDMI.
- DVI (Digital Visual Interface): Older than HDMI and DisplayPort, DVI is still used in some monitors. It supports high-definition video but doesn’t carry audio signals.
- VGA (Video Graphics Array): An older analog connection that is less common in modern setups but still used in some legacy systems.
B. Graphics Card and Ports
- Single Graphics Card: Most modern computers come with a built-in graphics card that can support multiple monitors. Check the number and types of ports on your card.
- Multiple Graphics Cards: In high-end setups, especially for gaming or professional graphics work, you might have multiple graphics cards. Each card can drive multiple monitors.
2. Check Your Computer’s Capabilities
Ensure that your computer can handle multiple monitors. Here’s how to check:
- Operating System Support: Most modern operating systems, including Windows, macOS, and Linux, support multiple monitors natively.
- Graphics Card Limitations: Verify the number of monitors your graphics card can support. Check the manufacturer’s specifications or the card’s documentation.
3. Prepare Your Monitors and Cables
Before connecting everything, gather the necessary equipment:
- Monitors: Ensure that all your monitors are compatible with your computer’s graphics card and have the appropriate ports.
- Cables: Depending on the ports available on your monitors and graphics card, you might need HDMI, DisplayPort, DVI, or VGA cables. You may also need adapters if your ports don’t match.
4. Connect the Monitors
Here’s a step-by-step guide to physically connecting your monitors:
- Power Off Your Computer: For safety and to ensure a clean connection, turn off your computer before connecting the monitors.
- Connect Cables: Plug each monitor’s cable into the appropriate port on the graphics card or motherboard. If your monitors and graphics card use different types of connectors, use the appropriate adapters.
- Power On Your Monitors: Turn on your monitors and make sure they’re set to the correct input source (HDMI, DisplayPort, etc.).
- Power On Your Computer: Once everything is connected and turned on, boot up your computer.
5. Configure Display Settings
After connecting your monitors, you’ll need to configure them in your operating system:
A. Windows
- Open Display Settings: Right-click on the desktop and select “Display settings” or go to Settings > System > Display.
- Detect Monitors: Click on the “Detect” button if your monitors aren’t automatically recognized.
- Arrange Displays: Drag and drop the monitor icons to match the physical arrangement of your monitors. This ensures that the cursor moves smoothly between screens.
- Select Main Display: Choose which monitor you want as the primary display. This is where your taskbar and main windows will appear.
- Adjust Resolution and Orientation: Set the resolution and orientation (landscape or portrait) for each monitor. Ensure the resolution matches the monitor’s native resolution for the best display quality.
B. macOS
- Open System Preferences: Click on the Apple menu and select “System Preferences,” then go to “Displays.”
- Arrangement Tab: Drag and drop the display icons to match your physical setup. macOS will automatically arrange them based on your adjustments.
- Main Display: Drag the white menu bar box to the monitor you want as the primary display.
- Resolution and Rotation: Use the “Display” tab to adjust the resolution and rotation settings for each monitor.
C. Linux
- Open Display Settings: This can usually be found in the system settings or control panel, depending on your distribution and desktop environment.
- Detect and Arrange Displays: Use the display configuration tool to detect and arrange your monitors. You can usually drag and drop the monitor icons to match your physical setup.
- Set Primary Display: Designate which monitor will be the primary display.
- Adjust Resolution: Configure the resolution settings for each monitor to match their native resolutions.
6. Troubleshooting Common Issues
If you encounter issues, here are some common solutions:
- Monitors Not Detected: Ensure cables are securely connected and check that the monitors are powered on. Restart your computer and try detecting the monitors again.
- Resolution Issues: Make sure you’ve selected the correct resolution for each monitor. Sometimes, updating your graphics drivers can resolve resolution problems.
- Flickering or Blurriness: Check the refresh rate settings and ensure that your cables are in good condition.
7. Advanced Configurations
For more advanced setups, such as using three or more monitors, consider these additional tips:
- DisplayPort MST Hubs: For connecting multiple monitors through a single DisplayPort, use a Multi-Stream Transport (MST) hub.
- USB Monitors: If you’re running out of ports, USB monitors can be used as a secondary option. Install the necessary drivers and follow the manufacturer’s setup instructions.
Conclusion
Connecting multiple monitors can transform your computing experience, providing a larger and more versatile workspace. By understanding your hardware, preparing your equipment, and configuring your displays properly, you can create a multi-monitor setup that boosts productivity and enhances your overall computing experience. Whether you’re a professional, a gamer, or simply someone who enjoys having more screen real estate, following these steps will help you set up and optimize your multi-monitor setup with ease.
